How to Sew A Blind Hem
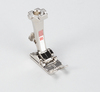
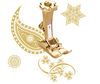
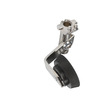
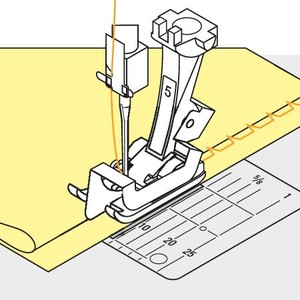 This diagram shows how the blind stitch sews in relation to the fabric and the presser foot. Note the guide in the center of the foot – this rides along the fold as the needle stitches into the hem allowance (straight stitches) and zigzags into the garment. With a permanent guide like this one, the needle position is adjusted as needed for proper stitch placement. Many blind hem feet have a moveable guide; with these the guide and fabric are moved to adjust the “bite” of the stitch.
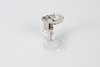
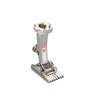
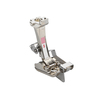
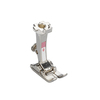
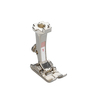
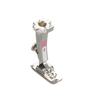
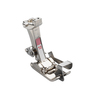
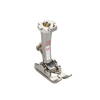
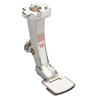
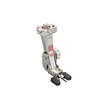
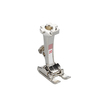
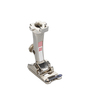
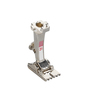
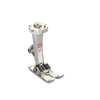
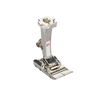
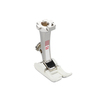
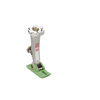
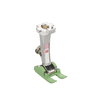
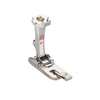
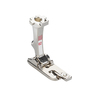
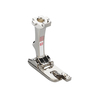
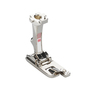
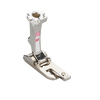
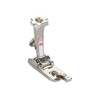
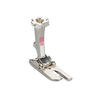
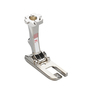
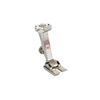
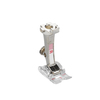
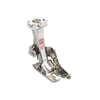
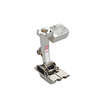
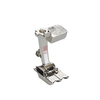
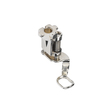
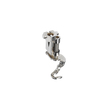
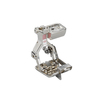
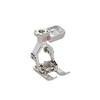
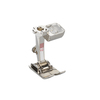
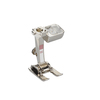
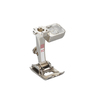
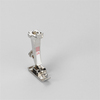
 Bernina 008449.73.00 Foot #5 Blindstitch New
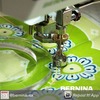
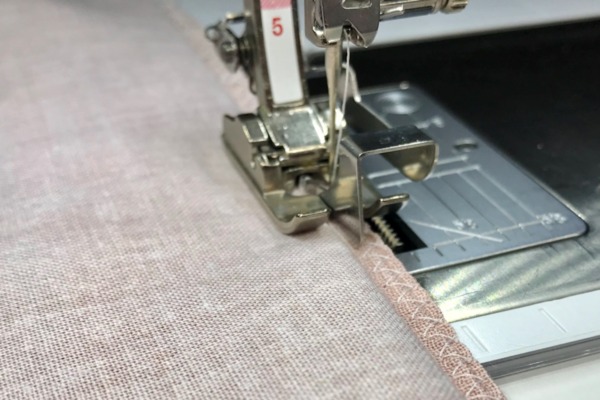
 This is a blind hem stitch – straight, straight, straight, hop to the left, straight, etc. Check your owner’s manual to find this stitch on your sewing machine.

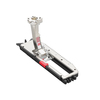
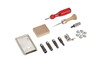
Recommended Accessories


Bernina 032370.71.01 0323707101 FOOT #60C NEW, DBL CORD 7-8MM


Bernina 033369.70.00 0333697000 New Echo Foot #44C Free Motion Quilting, Cutworks