

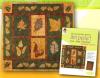
The machine section will provide an understanding of an embroidery machine's basic features and can help you decide which machine is right for you. You won't need to invest your life's savings if you know exactly what features and embroidery tools are indispensable. You'll learn the basic make-up of every embroidery design and use that knowledge to evaluate what type of designs look best on what fabrics. You'll understand underlay, satin, fill, and run stitches, and these will help you determine the proper stabilizer for a particular design on a particular fabric.
Machine Embroider in 6 Easy Lessons Includes:
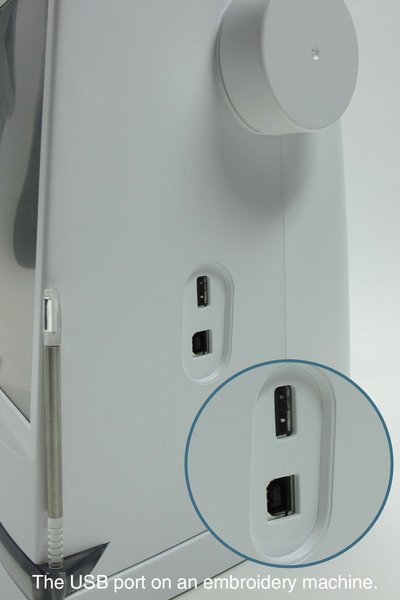
Chapter 1: Beginning Basics You don't need to spend a fortune on a top-of-the-line machine; instead, look for a machine with the basic seven functions to start your machine embroidery journey.
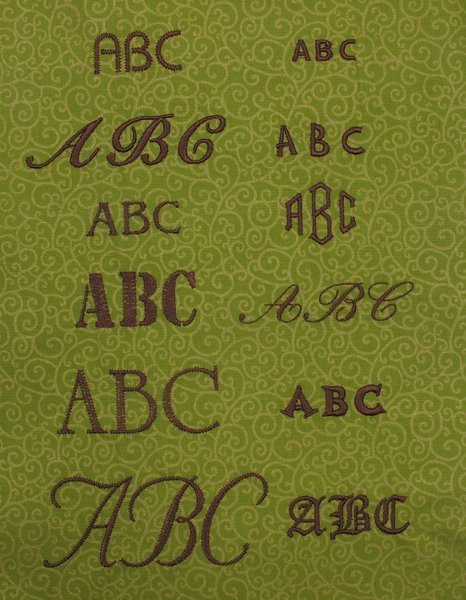
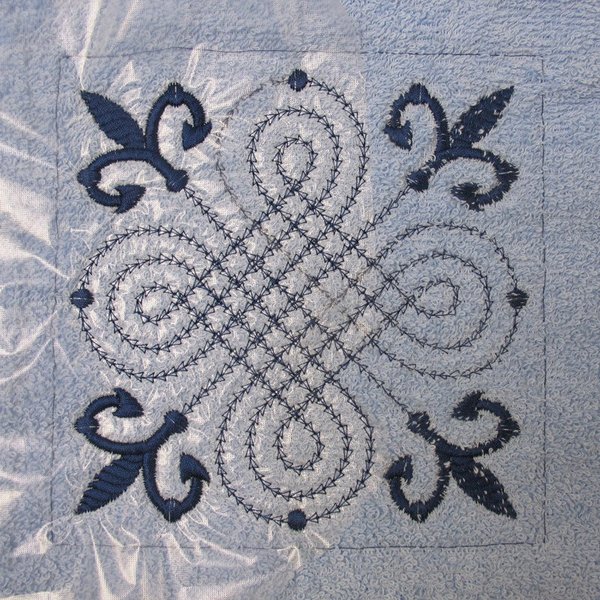
Chapter 2: Embroidery Designs Understanding the basic elements of every embroidery design will allow you to make wise choices when selecting stabilizers and fabrics.
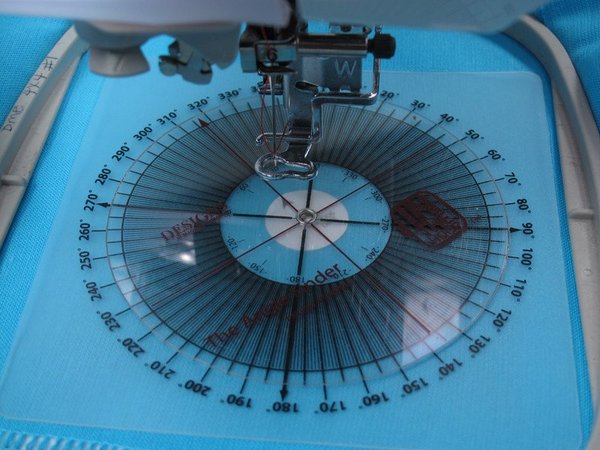
Chapter 3: Placement Spending time testing embroidery designs and selecting the appropriate threads and stabilizer is all for naught if the embroidery is positioned incorrectly. But don't fret—there are industry standards and handy tools to help you achieve professional placement.
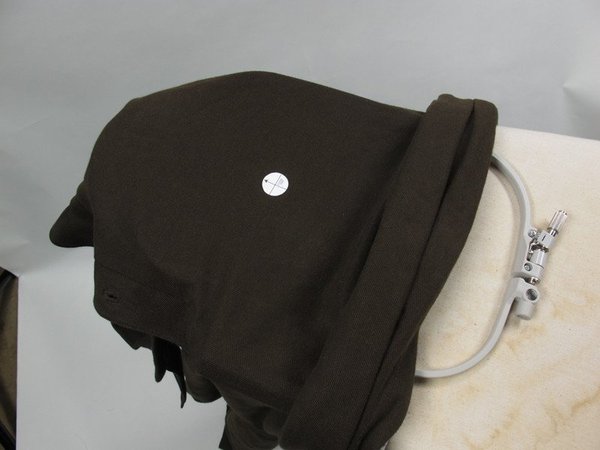
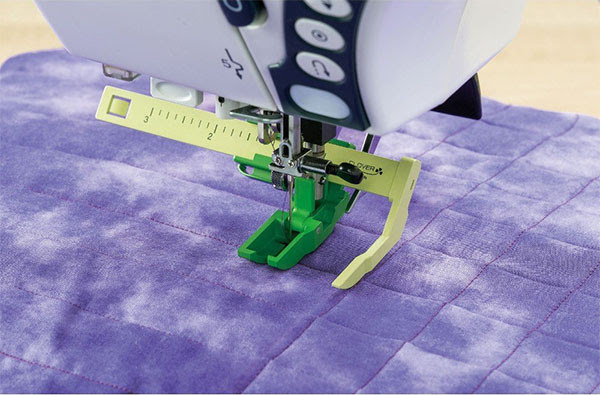
Chapter 4: Hooping Your goal when hooping your fabric is to hold the fabric in one stationary location while the hoop moves to lay the stitches down on the fabric. Learn the easy way to achieve this goal.
Chapter 5: Stitching Now that you've marked the placement of the design on the fabric, added stabilizer, and selected a method of hooping, it's time to stitch! Learn some simple steps fine-tuning steps to insure beautiful embroidery.
Chapter 6: Finishing Now that the design is complete, remove the hoop from the machine, but don't take it out of the hoop just yet. Learn why!
Bonus! The book also includes 4 Helpful Embroidery Tools to make embroidery placement and easy!
The Angle Finder: Find design rotation measurement quickly and easily. This ensures you'll never have crooked embroidery again!
Centering Ruler: Measure designs and distances between designs easily.
Target Ruler: Locate the center of any area in the hoop!
Target Stickers: The professional method for planning embroidery layout on a project. Plus there's no risk of permanent ink stains on your project with pens!
Appendix
- Embroiderer's 12-Point Checklist
- 10 Favorite Time-Saving Habits
- Choosing the Right Hoop
- Exercises
- Resources
- US Warranty 30 days replacement if defective.
- Non-US Warranty: 30 days parts and labor
Highlights:
Chapter 1: Beginning Basics
Chapter 2: Embroidery Designs
Chapter 3: Placement
Chapter 4: Hooping
Chapter 5: Stitching
Chapter 6: Finishing
...as well as,:
Embroiderer's 12-Point Checklist
10 Favorite Time-Saving Habits
Choosing the Right Hoop
Exercises
Helpful Resources
Videos on DIME Machine Embroidery in 6 Easy Lessons
 Chapter 1. Beginning Basics
You don't need to spend a fortune on a top-of-the-line machine; instead, look for a machine with the basic seven functions to start your machine embroidery journey.
Chapter 1. Beginning Basics
You don't need to spend a fortune on a top-of-the-line machine; instead, look for a machine with the basic seven functions to start your machine embroidery journey.
 Chapter 2. Embroidery Designs
Understanding the basic elements of every embroidery design will allow you to make wise choices when selecting stabilizers and fabrics.
Chapter 2. Embroidery Designs
Understanding the basic elements of every embroidery design will allow you to make wise choices when selecting stabilizers and fabrics.
 Chapter 3. Placement
Spending time testing embroidery designs and selecting the appropriate threads and stabilizer is all for naught if the embroidery is positioned incorrectly. But don't fret—there are industry standards and handy tools to help you achieve professional placement.
Chapter 3. Placement
Spending time testing embroidery designs and selecting the appropriate threads and stabilizer is all for naught if the embroidery is positioned incorrectly. But don't fret—there are industry standards and handy tools to help you achieve professional placement.
 Chapter 4. Hooping
Your goal when hooping your fabric is to hold the fabric in one stationary location while the hoop moves to lay the stitches down on the fabric. Learn the easy way to achieve this goal.
Chapter 4. Hooping
Your goal when hooping your fabric is to hold the fabric in one stationary location while the hoop moves to lay the stitches down on the fabric. Learn the easy way to achieve this goal.
 Chapter 5. Stitching
Now that you've marked the placement of the design on the fabric, added stabilizer, and selected a method of hooping, it's time to stitch! Learn some simple steps fine-tuning steps to insure beautiful embroidery.
Chapter 5. Stitching
Now that you've marked the placement of the design on the fabric, added stabilizer, and selected a method of hooping, it's time to stitch! Learn some simple steps fine-tuning steps to insure beautiful embroidery.
 Chapter 6. Finishing
Now that the design is complete, remove the hoop from the machine, but don't take it out of the hoop just yet. Learn why!
Chapter 6. Finishing
Now that the design is complete, remove the hoop from the machine, but don't take it out of the hoop just yet. Learn why!
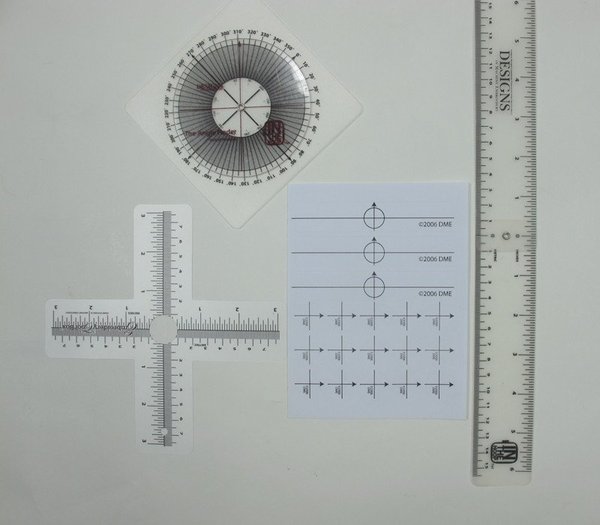 Bonus! The book also includes 4 Helpful Embroidery Tools to make embroidery placement fast and easy!
The Angle Finder: Find design rotation measurement quickly and easily.
Centering Ruler: Measure designs and distances between designs easily.
Target Ruler: Locate the center of any area in the hoop!
Target Stickers: The professional method for planning embroidery layout on a project.
Bonus! The book also includes 4 Helpful Embroidery Tools to make embroidery placement fast and easy!
The Angle Finder: Find design rotation measurement quickly and easily.
Centering Ruler: Measure designs and distances between designs easily.
Target Ruler: Locate the center of any area in the hoop!
Target Stickers: The professional method for planning embroidery layout on a project.
 DIME Machine Embroidery in 6 Easy Lessons 64 Page Book by Eileen Roche
Recommended Accessories


Other Items You May Be Interested In
-

DIME 159BDEC-SS_Gloves Embroidery Design Collection - Stitch Swag Fingerless Gloves Embroidery Designs CD
$39.99 Free Ground Shipping to the Contiguous USA -
DIME Stitch Swag: Essential Smart Phone Wallet Embroidery Designs CD
$39.99 Free Ground Shipping to the Contiguous USA -
DIME Stipple Mania 159 Quilting Designs CD to Piece, Sandwich & Embroider using ShortE Frame
$49.99 Free Ground Shipping to the Contiguous USA -
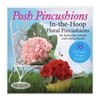
Designs In Machine Embroidery BK00111 Posh Pincushions Book by Katherine Artines, 35 Designs CD, 15 Projects
$15.00 -
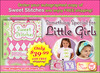
DIME BK00116 Sweet Stitches by JoAnn Connolly 64Pg Book+Designs Project CD, Special for Little Girls, 8 Projects: Banner Pillow Headband PJ's
$15.00 -
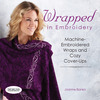
DIME BK00119 Wrapped In Embroidery and Cover Ups, 64 Page Book plus CD Video Instructions, 16 Designs by Joanne Banko for 5x7" Hoops
$29.99 Free Ground Shipping to the Contiguous USA -

DIME BK00104 Embroidered Monograms Book 50Pg CD, 3x3 Fonts, 28 Frames
$29.99 Free Ground Shipping to the Contiguous USA -

DIME CD00100 Embroider It Yourself Scrumptious Sweats CD Video
$39.99 Free Ground Shipping to the Contiguous USA -
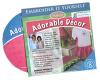
Designs In Machine Embroidery Adorable Décor for Children Designs Includes 9 celestial designs
$39.99 Free Ground Shipping to the Contiguous USA -

DIME CD00703-D Necklines to Hemlines T-shirt Remakes I Download by Nancy Zieman & Eileen Roche
$39.99 -

DIME CD00704 Necklines to Hemlines T-shirt Remakes II CD by Nancy Zieman & Eileen Roche
$39.99 Free Ground Shipping to the Contiguous USA -

DIME Farmhouse Collection, Lake House CD by Eileen Roche
$29.99 Free Ground Shipping to the Contiguous USA -

DIME TC Tapestry Collection, 22 In the Hoop Quilting Designs CD for 5x7, 6x10 Frames
$39.99 Free Ground Shipping to the Contiguous USA -

Every Stitch Counts - Quilted Dimensions Embroidery Design CD
$64.99 -
Amazing Designs CARD ENHMC ER1 Eileen Roche Quilt Connection Collection 1
$69.99 Free Ground Shipping to the Contiguous USA -

Amazing Designs ADC ER5 Eileen Roche Chic Fashions Collection III Multi-Formatted CD
$49.99 Free Ground Shipping to the Contiguous USA -

Amazing Designs PFMC ER1 Eileen Roche Quilt Connection Collect 1 Pfaff Card
$69.99 Free Ground Shipping to the Contiguous USA -
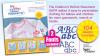
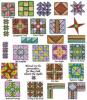
DIME PPKC0010 Designs In Machine Embroidery The Children’s Perfect Placement Kit For Embroidery, 16 Templates +30 Stickers +104 Designs
$39.99 Free Ground Shipping to the Contiguous USA -
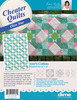
DIME SHQCC001 Ohio Star Cheater Quilt 51x72" Five 6x6 Designs CD, Use 100% Cotton
$49.99 Free Ground Shipping to the Contiguous USA -
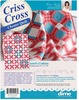
DIME SHQCC003 Criss Cross Cheater Quilt Pattern & CD for 51-1/2x70" 100% Cotton
$49.99 Free Ground Shipping to the Contiguous USA -
DIME SHQWR1 Wedding Ring Applique Quilts Collection 10 Designs, Instructions CD
$39.99 Free Ground Shipping to the Contiguous USA -

Amazing Designs SHV ER1 Eileen Roche Quilt Connection Collect 1 Viking SHV Format
$64.99 -
DIME Designs in Machine Embroidery Ice Cream Lovers Stipple Sprinkles 1 Step Applique Quilt Blocks Wall Hanging CD by Eileen Roche
$29.99 Free Ground Shipping to the Contiguous USA -
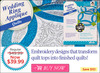
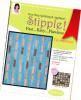
DIME Designs in Machine Embroidery 1 Step Quilting & Applique Stipple! Aqua Flame - 8 Designs, 12 Blocks, 2 Borders, 1 Square cornerstone
$29.99 Free Ground Shipping to the Contiguous USA -
DIME Designs in Machine Embroidery 1 Step Quilting & Applique Stipple! Autumn Leaves - Download
$29.99 -
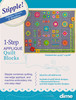
DIME Designs in Machine Embroidery Stipple! Geometrics 1 Step Quilting & Applique CD
$29.99 Free Ground Shipping to the Contiguous USA -
DIME STP0040 Stipple! Ho Ho Holiday CD, 8 Designs 2 Sizes, 1 Step Quilting and Applique
$29.99 Free Ground Shipping to the Contiguous USA -
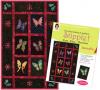
DIME STP0050 Designs in Machine Embroidery 1 Step Quilting & Applique Stipple! 7 Butterflies & 2 Flower Pattern Quilt Blocks -Download
$29.99 -

DIME Designs in Machine Embroidery 1 Step Quilting & Applique Stipple All Seasons Border Collection CD
$29.99 Free Ground Shipping to the Contiguous USA -
Designs in Machine Embroidery STP0080 1 Step Quilting and Applique Stipple! Tropical Flowers CD- 9 Embroidery Designs in Two Sizes
$29.99 Free Ground Shipping to the Contiguous USA -
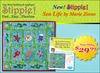
Designs in Machine Embroidery STP0090 Stipple! Sea Life 5X7 and 6X10 Multi Format Embroidery Design CD, 14 Designs with Instructions
$29.99 Free Ground Shipping to the Contiguous USA -
DIME STP0111 Designs in Machine Embroidery Stipple Jingle Bells CD
$29.99 Free Ground Shipping to the Contiguous USA -
Designs in Machine Embroidery STP0112 Stipple Fabulous Flowers & Medallions CD, Learn to Stich in 3D Appliqué & Machine Embroidery in 1 Stipple! step
$29.99 Free Ground Shipping to the Contiguous USA -
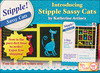
DIME STP0113 Nine Sassy Cats Stipple Quilt Block Embroidery Designs by Katherine Artines on CD
$29.99 Free Ground Shipping to the Contiguous USA -
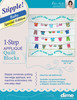
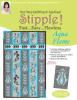
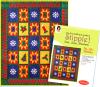
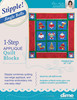
DIME STP0114 Stipple! Baby, 1 Step Applique Quilt Blocks, 30 Garment, 10 Border Designs CD
$39.99 Free Ground Shipping to the Contiguous USA -
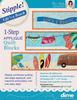
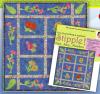
DIME STP0115 Stipple! Life's A Beach 1-Step Applique Quilt Blocks CD
$29.99 Free Ground Shipping to the Contiguous USA -

DIME Stitch Swag All in the Hoop Collections Pack #151, 152, 153, 154, 155 Embroidery Designs CD
Free Ground Shipping to the Contiguous USA -
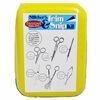
Brewer TNS1001 Stitchers Trim & Snip Kit, 6 Tools in Yellow Case, 4 and 6" German +Duck Bill Scissors, Sharp Pointer, Applique Scissors, Tweezers
$99.99 -
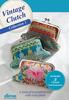
DIME VPURSES1 Vintage Clutch Bag Collection 1 Bundle CD, 3 Clutch Designs +12 Spools of Thread +1 Pack of 5 Needles
$39.99 Free Ground Shipping to the Contiguous USA -

Amazing Designs AD3010 Eileen Roche's The Farm Collection I Floppy Disk
$5.00 -

Amazing Designs CARD BMC ER1 Eileen Roche Quilt Connection Collection 1
$69.94
