HOW TO INSTALL YOUR PORTABLE TABLE
INCLUDED WITH TABLE:
8 standard legs, 2 cling rulers
1. Adjust leg height to be 1/4” shorter than machine free arm.
Hint: stand leg up to free arm, adjust accordingly
(for proper fit the Table will be level with the free arm of machine
at the needle).
2. Install legs by placing Table upside down on a firm surface.
Protect Table top with a soft towel. Push legs all the way onto
black buttons attached to Table. Turn Table upright.
3. Remove any accessory trays surrounding free arm. Slide Table
into place (if legs not attached or not at right height, Table may
not slide into place correctly).
4. Install support/suction leg (when supplied) by attaching the
suction cup into the top of the leg, adjust height and place
where desired.
REMOVING LEGS (TRANSPORTATION & STORAGE):
Remove legs by placing Table upside down on a firm,
protected surface and gently wiggle legs back and forth.
DO NOT TWIST LEGS!
PLEASE DO NOT PICK TABLE UP BY LEGS
PLEASE DO NOT UNSCREW BUTTONS FROM TABLE
Scan code at left to find instructional videos on our Sew Steady products
TROUBLE SHOOTING FIT ISSUES
Fit Issue
Possible Cause
Remedy
Not fitting around free arm
Accessory tray still
attached
- OR -
Legs not attached or at correct height
Remove accessory tray
- OR -
Attach legs/adjust height (see table
instructions)
Table still not fitting correctly
Note: if Table is not fitting properly,
please call for assistance or
return authorization: 800-837-3261
*Sew Steady Free Motion Table 32x24" for Home Sewing Machines. The longer your machine arm, the closer to the end of the table the needle will be. If your machine arm is too short, you may need to stand up to reach the needle comfortably with your arms and hands. We recommend a smaller table if the needle is over 10" from the end of of the table.
Note: This table was designed for machines with free arms longer than 13” overall length (not needle to neck) If you free arm is shorter than that this size of table may not be ideal as the needle will be more than 10” from the front of the table.
CAUTION: Do not place anything hot on acrylic. Never have sewing machine arm lower than cabinet insert. Do not stand on, lean on, or apply unnecessary pressure, outside of standard sewing use, to acrylic.
WARNING: Do not use harsh solvents such as Windex, rubbing alcohol, paint thinner, lacquer thinner, acetone, turpentine, or any petroleum based substances as they can cause acrylic to weaken and crack. If harsh solvents are used on acrylic the warranty is void.
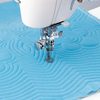
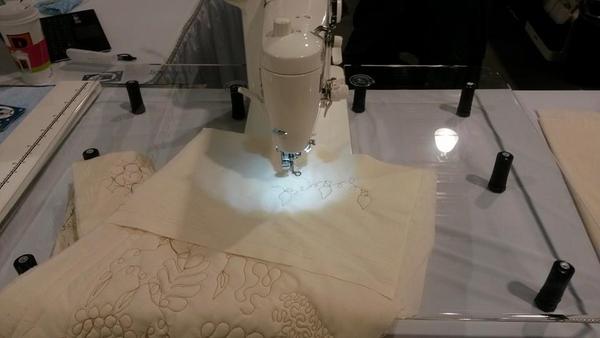 Have you ever thought about facing your machine for free motion quilting? This table allows me to do just that on the TL2010 making it an even more perfect quilter.
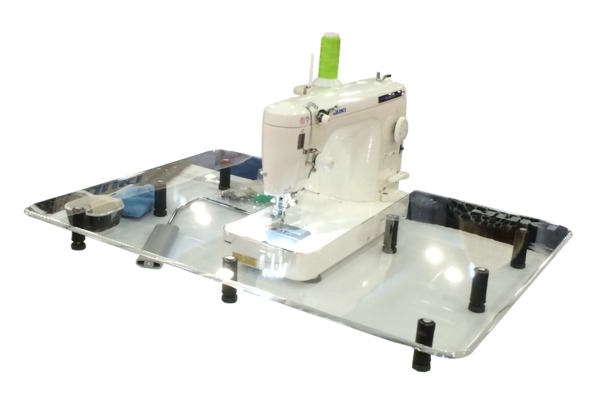 Convert your portable sewing machine into a sit down free motion sewing machine. This 24″ deep by 32″ wide Table offers an excellent surface for all free motion work. Comes with 8 removable legs, 2 16″ cling rulers, and a silicone based Polish Kit which turns your Table into a slick surface ideal for free motion quilting.
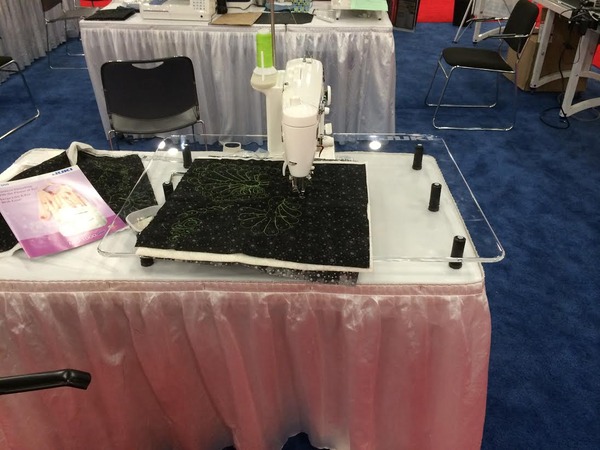 Sew Steady SSTJ103GFM Sit Down Free Motion Quilting Extension Table 32x24" for Juki TL2010Q TL2200QVP Mini, TL18QVP
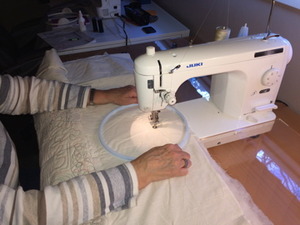 *Note: This table was designed for large machines with free arms longer than 13”. If your free arm is shorter than this, this size of table may not be ideal as the needle will be more than 10” from the front of the table.
I have tried to source a cord but as yet, the only one available is from Grace.
I recommend a 90/14 top stitch needle for freemontion on the TL machines.
I also recommend a TOWA gauge(400tm4) for setting the bobbin tension and a second bobbin case for freemotion.(1 to adjust tensions and 1 to left for sewing tension)
I have found that original bobbins work the best with the TOWA gauge, therefore I stay away from pre wounds. (Other folks have good luck with them).
Oiling (this is just me): I put a drop on the hook with every bobbin. The ports on the top of the machine, I oil 2-3 times a year. Juki Rep
Just set up my insert for sewing machine cabinet for my Bernina - it fits perfectly - Thank you! Love it! Have not opened the free motion extension table yet


