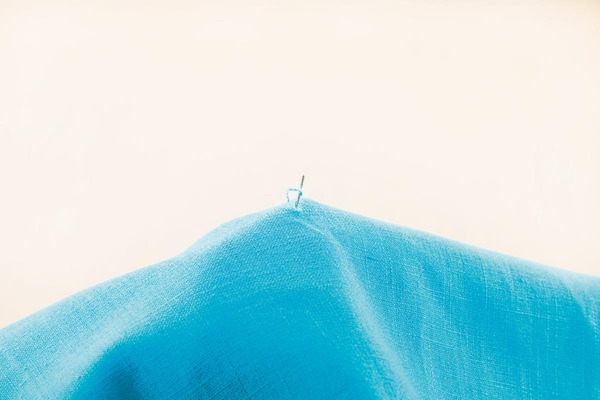
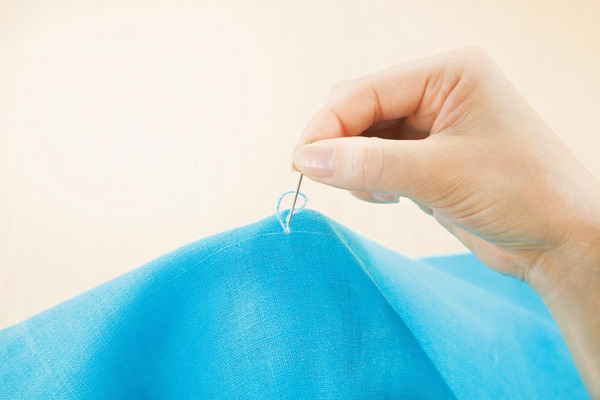
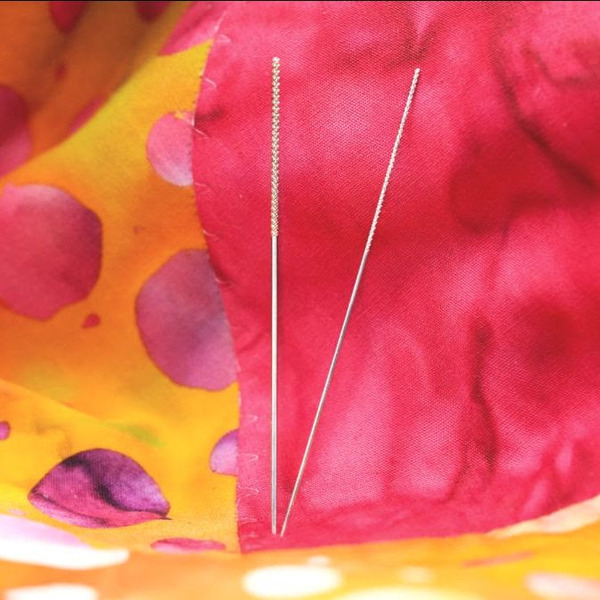
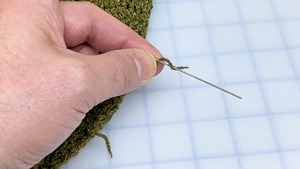
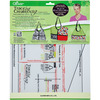
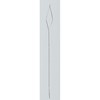
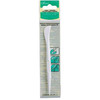
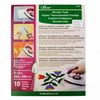
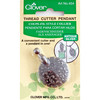
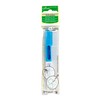
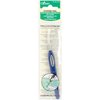
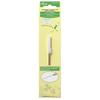
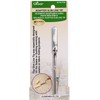
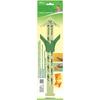
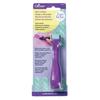
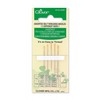
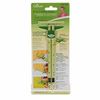
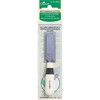
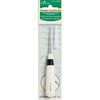
Snags - Unsightly snags ruin the feel of anything. But we can repair them to our satisfaction. Simply select the snag repair needle size for the fabric being repaired. Remember, always use the finest needle possible. Insert the point into the exact spot from where our errant thread was pulled. Attach those loose fibers or threads to the "grippy" edges on the end of the needle by wrapping them around the shaft while simultaneously twisting the needle. Once the connection is made, just pull the needle with the attached fibers through the fabric to the wrong side and remove the needle. Problem solved.
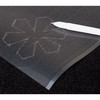
Loose Thread Ends - Machine quilting, for example, leaves us with loose ends to deal with. Top thread and bobbin thread ends. The first step in the hiding process is to get both threads on the same side of the quilt. Simply pull the top thread upwards which reveals a bobbin thread loop. Use the point of the needle to pull the now exposed bobbin thread loop through to the top of the quilt. Tie the two threads together with an overhand knot. Now insert the Snag Repair Needle into the fabric where the bobbin thread came through. Move it horizontally between the quilt layers for about an inch and then back through the quilt top. Always check to make sure your needle didn't exit the back of the quilt at any point. Remember, we want to hide the thread ends between quilt layers. Now attach the loose thread in the same manner you would for a snag repair and pull it through the quilt to the exit point on the top fabric. Clip the thread close to the top fabric and the loose end will pull back inside the quilt and out of sight forever. The same technique can be used when we run out of bobbin thread. Just hide the ends as described, insert a full bobbin and continue stitching. Seamless stops and starts. This general principle applies to everything we do in creative fiber arts that leaves us with loose ends to deal with.
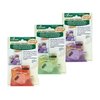
The tool comes with 2 needles in different sizes so regardless of what weight of yarn your crochet or knit garment or project is made in, there’s a needle that will work for you.
Keep a set of these in your project bag and in your repair kit. Give your snagged sweaters (and any other crochet or knitted projects) a second chance. You’re going to wonder how you ever lived without it.
Click here to watch Snag Repair Needles Extra Credit


