

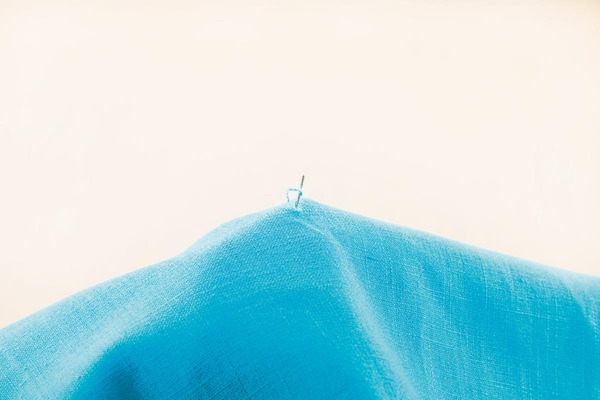
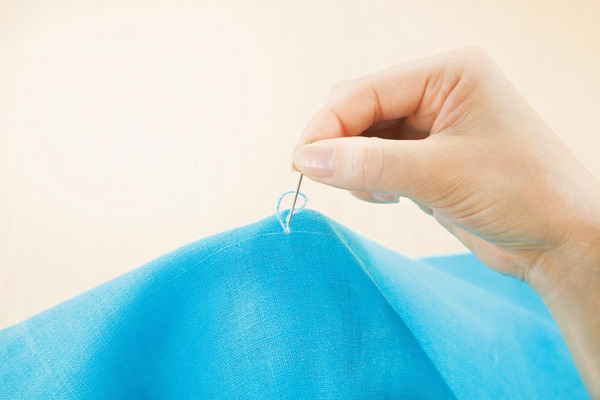
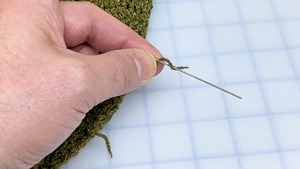
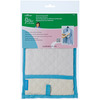
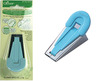
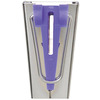
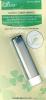
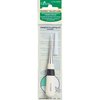
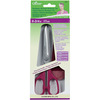
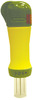
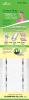
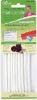
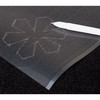
Snags - Unsightly snags ruin the feel of anything. But we can repair them to our satisfaction. Simply select the snag repair needle size for the fabric being repaired. Remember, always use the finest needle possible. Insert the point into the exact spot from where our errant thread was pulled. Attach those loose fibers or threads to the "grippy" edges on the end of the needle by wrapping them around the shaft while simultaneously twisting the needle. Once the connection is made, just pull the needle with the attached fibers through the fabric to the wrong side and remove the needle. Problem solved.
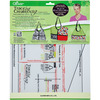
Loose Thread Ends - Machine quilting, for example, leaves us with loose ends to deal with. Top thread and bobbin thread ends. The first step in the hiding process is to get both threads on the same side of the quilt. Simply pull the top thread upwards which reveals a bobbin thread loop. Use the point of the needle to pull the now exposed bobbin thread loop through to the top of the quilt. Tie the two threads together with an overhand knot. Now insert the Snag Repair Needle into the fabric where the bobbin thread came through. Move it horizontally between the quilt layers for about an inch and then back through the quilt top. Always check to make sure your needle didn't exit the back of the quilt at any point. Remember, we want to hide the thread ends between quilt layers. Now attach the loose thread in the same manner you would for a snag repair and pull it through the quilt to the exit point on the top fabric. Clip the thread close to the top fabric and the loose end will pull back inside the quilt and out of sight forever. The same technique can be used when we run out of bobbin thread. Just hide the ends as described, insert a full bobbin and continue stitching. Seamless stops and starts. This general principle applies to everything we do in creative fiber arts that leaves us with loose ends to deal with.
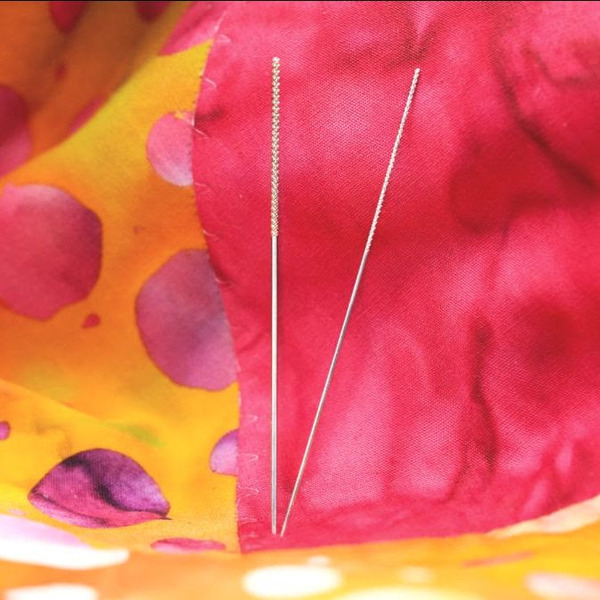
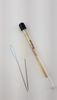
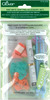
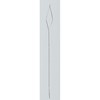
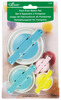
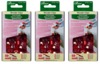
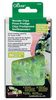
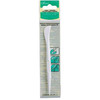
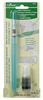
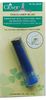
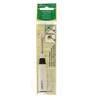
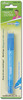
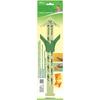
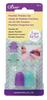
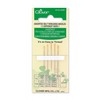
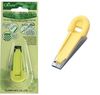
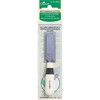
The tool comes with 2 needles in different sizes so regardless of what weight of yarn your crochet or knit garment or project is made in, there’s a needle that will work for you.
Keep a set of these in your project bag and in your repair kit. Give your snagged sweaters (and any other crochet or knitted projects) a second chance. You’re going to wonder how you ever lived without it.
Click here to watch Snag Repair Needles Extra Credit
Recommended Accessories
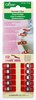
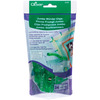
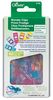
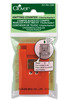
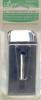
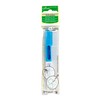
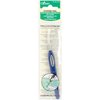
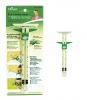
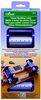
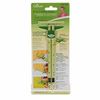
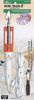
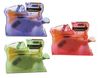
Dritz D26615 Knit Pickerk repair snags and pulls in knits, wovens
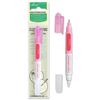
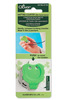
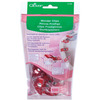
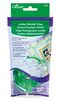
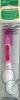
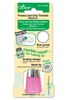
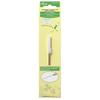
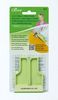
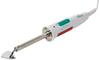
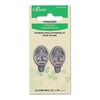
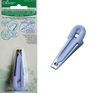
Clover CL407_Pastel Color Desk Needle Threader, Choose Purple Green or Pink
Other Items You May Be Interested In
-
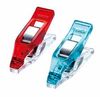
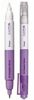
Clover CL5012 Chacopen Pink Pen Water Soluble One End/Eraser Other End
$4.99 -
Clover CL5013 Blue Chacopen Water Soluble Chaco Pen with Eraser End
$5.99 -
Clover Knit Mate Knitting Accessory Set
$21.95 -
Clover Trace 'n Create Bag Templates With Nancy Zieman Nancy's Hobo Tote Collection
$19.95 -
Clover Touch Up Pressing Mitt
$18.95 -
Clover CL2300 Swift Bead Beading Needles, 2 Pack
$11.95 Free Ground Shipping to the Contiguous USA -
Clover CL231A Applique Pins 3/4" 2CM 20MM Long 150 pk
$9.99 -
Clover Japan CL232A 100 Patchwork Pins in a Box, Glass Heads
$9.99 -
Clover CL240 Forked Steel Pins, 1.5" Long, Fine 0.56mm Diameter, 35ct Count x 3 Boxes 105 Total for Sewing, Quilting, Drapery, Upholstery
$29.99 Free Ground Shipping to the Contiguous USA -
Clover Clover CL2401 Forked Steel Pins 1.5" Long, Fine 0.56mm Diameter, 70ct Boc for Sewing, Quilting, Drapery, Upholstery
$19.00 Free Ground Shipping to the Contiguous USA -
Clover Needlecraft CL3118 Mini Knitting Counter Kacha-Kacha
-
Clover Needlecraft CL3129 Pom-Pom Maker Set
$14.99 -
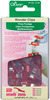
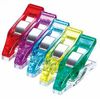
Clover CL3155 Wonder Clips 10Pk 1/4" Seam Markings, Quilt Bindings, No Pins
$8.99 -
Clover CL3156A Wonder Clips 50Pk 1/4" Seam Markings, for holding Quilt Bindings, No Pins!
$34.99 -
Clover CL3156 Jumbo Wonder Clips Box of 150 Clips, for Seams, Quilt Bindings, No Pins!
$69.99 -
Clover CL3157 Jumbo Wonder Clips 24Pk 1/4" Seam Markings, Quilt Bindings, No Pins, Holds Fabric Layers
$26.99 -
Clover CL3159 Wonder Clips 100Pk Bag, 1/4" Seam Markings, to hold Quilt Bindings, No More Pins!
$59.99 -
Clover CL3163 Fork Blocking Pins
$14.99 -
Clover CL3181 Wonder Clips Neon Green 50 pc
$33.99 -
Clover Needlecraft CL3183 Wonder Clips 50ct Assorted Colors, 1/4in & 1/2in seam allowance marks on base of clip
$34.95 Free Ground Shipping to the Contiguous USA -
Clover CL3186 Jumbo Wonder Clips 12pcs by Nancy Zieman
$13.99 -
Clover CL3188 Mini Wonder Clips 20pcs for Sewing and Quilting
$14.99 -
Clover CL3189 Mini Wonder Clips - 50 pcs
$29.99 -
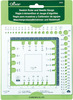
Clover Needlecraft CL3200 Swatch Ruler and Needle Gauge
$11.95 -
Clover Needlecraft CL336 Knitting Counter Kacha-Kacha
$10.40 -
Clover CL4002 4002CVA Slim Hera Marker, Crease Lines Show, No Chalk or Pencil Marks
$6.99 -

Clover CL4012 Fusible Bias Tape Maker 9mm 3/8''
-
Clover CL4015 1" Fusible Bias Tape Maker-25mm
-
Clover CL4053A Fabric Folding Pen, Draw a line with this pen and your fabric will stay folded without ironing.
$17.99 -
Clover CL4054 Fabric Folding Pen Liquid Refill Bottle, to be used with Fabric Folding Pen (CL4053) 8ml bottle
$10.99 -
Clover CL407_Pastel Color Desk Needle Threader, Choose Purple Green or Pink
-
Clover CL4090 Wonder Fuse Paper Backed Fusible Web Fabric, 9inx8in Sheets, 10pcs per Package.
$11.99 -
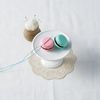
Clover Sweet n' Sharp Macaron Needle Sharpener and Cushion—Choose Your Color
$11.99 -
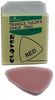
Clover CL432RA Triangle Chalk Red
$4.99 -
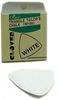
Clover CL432WA Triangle Chalk Whitel, Marks clear accurate lines on your quilts and other sewing projects
$4.99 -
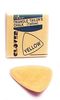
Clover CL432YA Triangle Chalk Yellow
-
Clover CL434 Chacopy Tracing Paper Notions
-
Clover CL454 Box of 3 Thread Cutter Pendants - Antique Silver Finish
$20.99 Free Ground Shipping to the Contiguous USA -
Clover 462 Double Needle Threader, 1 End Small Eye, Other End Large Eye
$6.99 -
Clover CL464/06 1/4" Bias Tape Maker 6mm
-
Clover CL464/25 1" Bias Tape Maker-25mm
-
Clover CL464/50 Art N Bias Tape Maker, Uses 50mm or 2" Raw Fabric Strips for Finished 25mm or 1" Bias Binding in Sewing, Quilting, Home Dec Edges
-
Clover CL469/BA Chaco Liner - Blue Chalk Marker Pencil
$9.99 -

Clover CL469/PA Chaco Liner - Pink Chalk Marker Pencil
$9.99 -

Clover CL469/Y Chaco Liner, Yellow Chalk Marker Pencil
$9.99 -
Clover CL469WA Chaco Liner White Chalk Marker
$9.99 -
Clover CL470/B Chaco Liner Chalk Pencil Powder Refills Blue, 2/PK, 3PK/BOX Equals 6 Bottles
$13.99 -
Clover CL470/W Chaco Liner Chalk Pencil Powder Refill White 2/PK, 3PK/BOX Equals 6 Bottles
$15.99 -
Clover CL470/Y Chaco Liner Chalk Pencil Marking Powder Refills Yellow 2/PK, 3PK/BOX Equals 6 Bottles
$13.99 -

Clover CL470/p Chaco Liner Chalk Pencil Powder Refills Pink, 2/PK, 3PK/BOX Equals 6 Bottles
$13.99 -
Clover CL4710 Chaco Liner Pen Style Blue
$11.99 -
Clover CL4711 Chaco Liner Pen Style Pink
$11.99 -
Clover CL4712A Chaco Liner Pen Style White
$10.99 Free Ground Shipping to the Contiguous USA -
Clover CL4713 Chaco Liner Pen Style Yellow
$11.99 -
Clover CL4714 Chaco Liner Pen Style Silver
$11.99 -
Clover CL472 Easy Loop Turner
$11.50 -
Clover CL4720 Refill Chaco Liner Cartridge, Pen Style Blue
-
Clover CL478 Threader with Cutter
$4.59 -
Clover CL480W Tracing Wheel - White
$5.99 -
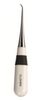
Clover CL482WA Large Handle Ergonomic Seam Ripper, for Opening Buttonholes
$9.75 -

Clover CL484W Button Hole Cutter White 12mm
-
Clover CL485W White Straight Tailors Awl
-

Clover CL487W Double Tracing Wheel
-
Clover CL490NV Hera Marker/Finger Presser
$5.99 -
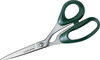
Clover EX-200 7.75" Ultimate Dressmaker Scissors Shears Bent Trimmers Art No. 4934
$34.99 -
Clover Bordeaux 170 Ultimate Scissor Shear Trimmers 6.75" Long +Sheath
$44.99 -
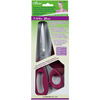
Clover Bordeaux 200 Ultimate 7-3/4" Scissors, Shears, Bent Trimmers +Sheath
$57.99 -
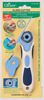
Clover CL499 Orginal Rotary Blade Slash Cutter, Box of 3, with Shoe Blade that Does Not Require a Cutting Mat.
$49.99 -
Clover CL5012 Water Soluble Chacopen Pen with Eraser -Pink Box of 3
$12.99 -
Clover CL5013 Water Soluble Chacopen with Eraser - Blue Box of 3
$17.99 -
Clover CL5032 Air Erasable Marker w/Eraser
Retail -

Clover CL515 Fine Point Water Soluble Fabric Marker Pen for Sewing, Quilting, and Embroidery
$5.99 -

Clover CL517A White Ink Water Soluble Pen, Thin Tip
$7.99 -
Clover CL518 White Eraser Pen
-
Clover CL6026A Protect & Grip Thimble - Medium
$9.99 -
Clover CL6027A Protect & Grip Thimble - Large
$9.99 -

Clover CL6031 Flexible Rubber Thimbles (Medium)
$8.95 -
Clover CL6032 Flexible Rubber Thimbles (Large)
$8.95 -
Clover CL7006 Curve Ruler Set with Mini Ruler
$21.95 -
Clover Needlecraft CL7803 Point 2, Point Turner
$11.99 -
Clover CL7806 Hot Hemmer Nylon Ruler to Mark, Measure and Press Hems in One Step
$16.99 -
Clover CL7807 Hold It Precision Stiletto, Pointed Tool for Ironing or Sewing
$12.99 -
Clover CL7810 Press Perfect Iron Shine Cleaning Pen, Soleplate Cleaner, safely works with the iron off
$16.95 -
Clover CL7811A Hot Ruler Press Perfect deep hems, long hems, mitered corners
$24.99 -
Clover CL7812 Roll and Press Seams Tool, Notions by Joan Hawley
$15.99 -

Clover CL8430 Rosette Maker - Small, includes Parts and Template to Create One Rosette
$13.99 -
Clover CL8700 Quick Yo YO Make small
$20.85 -
Clover CL8701 Quick Yo YO Make Large
$21.75 -
Clover CL8702 Quick Yo YO Make Xsmall
$16.50 -
Clover CL8703 Quick Yo YO Make Extra Large
$21.75 -
Clover CL8708 Quick Yo YO Make Jumbo
$26.85 -
Clover CL879BOX03 Stuffing Tool to Stuff Batting or Trapunto into the Smallest Areas
$19.99 -

Clover CL8800 Embroidery Stitching Tool Punch Needle
$35.25 Free Ground Shipping to the Contiguous USA -
Clover CL8801 1-Ply Embroidery Stitching Tool Punch Needle Refill
$20.99 Free Ground Shipping to the Contiguous USA -
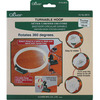
Clover CL8815, 360° Turnable 7-1/2" Diameter Hand Embroidery Hoop with Stand
$39.99 Free Ground Shipping to the Contiguous USA -
Clover CL8900 Felting Needle Punch Tool, Box of 3
$49.99 Free Ground Shipping to the Contiguous USA -

Clover CL8901-3ct Pen Style Needle Punch Felting Tool with Bos of 3 Needles x 3 Packs
$39.99 -
Clover CL8905 Fine Wt 5 Felting Needle Refills x Box of 3 for Needle Felting Tool CL8901
$24.99 Free Ground Shipping to the Contiguous USA -

Clover CL8906 Felting Heavy Wt 5 Needle Refill, Box of 3, for Felting Needle Tool CL8901
$24.99 Free Ground Shipping to the Contiguous USA -
Clover CL9105 Mini Iron II Adapter Slim Line Tip for Applique, Quilting, Bias, etc.
$11.99 -
Clover CL9108 Mini Iron II Cooling Tote Bag Sheath, Protective for Storage
$20.99 -
Clover Create-A-Strap CL9502 1" Inch x2.2yd Yards by Sewing with Nancy
$6.99 -
Clover CL9506 5-In-1 Sliding Gauge by Nancy Zeiman, Use as a Hem Gauge, Circle Compass and T-Gauge
$15.99 -
Clover CL9508 Stack n Store up to 30 Bobbins Storage Tower
-
Clover CL9516 Wrap 'n Fuse Piping 3/16" Inches x 6yd Yards By Nancy Zeiman
$13.25 -
Clover CL9521 Trace 'n Mark Extra Thick Water Erasable Marker Pen (Pack of 3)
$19.99 -

Clover CL9522 Trace 'n Mark Extra Thick Air Erasable Marker (Pack of 3)
$19.99 -
Clover CL9579 No Hassle Triangles Gauge for Quilting by Nancy Zieman
$16.99 -
Clover CL9582 Clip 'n Glide Bodkins
$8.99 Retail -
Clover CL9584 6-in-1 Stick 'n Stitch Seam Guide for perfect stitching by Nancy Zieman, Watch Video
$13.95 -
Clover CL9586 The Ultimate Quilt 'n Stitch Seam Guide Presser Foot, Low Shank Screw On with Adjustable Integrated Edge Guide Bar for Parallel Lines
$24.99 Free Ground Shipping to the Contiguous USA -

Clover CL9609 Clip N Glide Bodkin - I Sew For Fun, thread elastic through casing.
$8.99 -
Clover CL9612 I Sew For Fun Roll n Press
$15.50 -
Clover CL9613 I Sew For Fun Point 2 Point Turner
$11.99 -
Clover CL9614 I Sew For Fun Protect n Grip Thimble
$10.95 -
Clover CL9615 I Sew For Fun Flexible Thimble Set
$8.95 -
Clover CL9910 Beading Loom
$69.99 -
Clover CL9917 Beading Thread Box of 3, Black
$22.50 -
Clover MCI-900 Mini Craft 1" Wide Hot Iron with 8ft Cord, Holder Stand Rack
$34.99 -
Clover CLO474 12" x 16" Mesh Transfer Canvas for Sewing, Quilting, Applique, Embroidery Projects
$15.75 -
Clover CLQ2006 Self Threading Needles, Assorted
$4.99 -
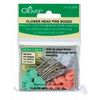
Clover CLQ2506 Flower Head Pins boxed 100ct
Retail -
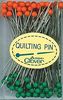
Clover CLQ2508 Quilting Pins 100ct
$11.99 -
Clover CLQ2509 Clover Quilting Pins Fine 100ct
-
Clover CLQ4000 Needle Threader 2/pkg
$4.99 -
Clover Cl8812 7'' Embroidery Hoop
-
Clover Cl9585 Supersize 5in1, 5-in-1 Sliding Gauge by Nancy Zieman, Use as a Hem Gauge, Circle Compass and T-gauge
$19.99 -
Clover CL4071 Desk Needle Threader - Purple Single
$16.25 Retail -
Clover CL4880 White Curved Tailors Awl for Punching Holes
$15.50 Free Ground Shipping to the Contiguous USA -
Clover CL9100 Mini Iron II, BOX of 03
$99.99 Free Ground Shipping to the Contiguous USA -
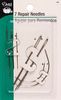
Dritz D54 Repair Needles Set 7ct x 6/box, Includes Needles for Canvas, Carpet, Leather, Sacks, Sail, and Curved for Upholstery
$16.99 -
Clover FBTM12 CL4013 Fusible Bias Tape Maker 12mm 1/2in Wide - Box of 3
$29.95 -
Timeless Treasures Gail-c8333 Black PACKED CLOVERS
-
Timeless Treasures Gail-c8333 White PACKED CLOVERS
-
Clover CL4012 Fusible Bias Tape Maker 9mm 3/8in, Set of 3
-
Clover CL4057 Pastel Colors, Desk Needle Threader Set of 6 per Pack, 2 Purple 2 Green and 2 Pink Threaders
$99.99 Free Ground Shipping to the Contiguous USA -
Clover CL484W Button Hole Cutter White 12mm, Set of 3
$29.99 Free Ground Shipping to the Contiguous USA -

Clover CL485W White Straight Tailors Awl, for Punching Holes, Set of 3
$17.99
